Managing Project Documents in Sharepoint - Step 2 - Setting up a Document Library
It is possible to set up a document library for each individual project. However, given that a list of projects is now available a single document library can be created which will have a custom column specifying which project the document is associated with.
It is relatively easy to set up a new Library in Sharepoint.
- Click on the "Libraries" link that is normally visible in the left pane of the Sharepoint display.
-
Click on the
 icon towards the upper left part of the screen. In the next screen enter a name such as "My Project Library" in the entry box on the right hand part of the screen and choose "Document Library"
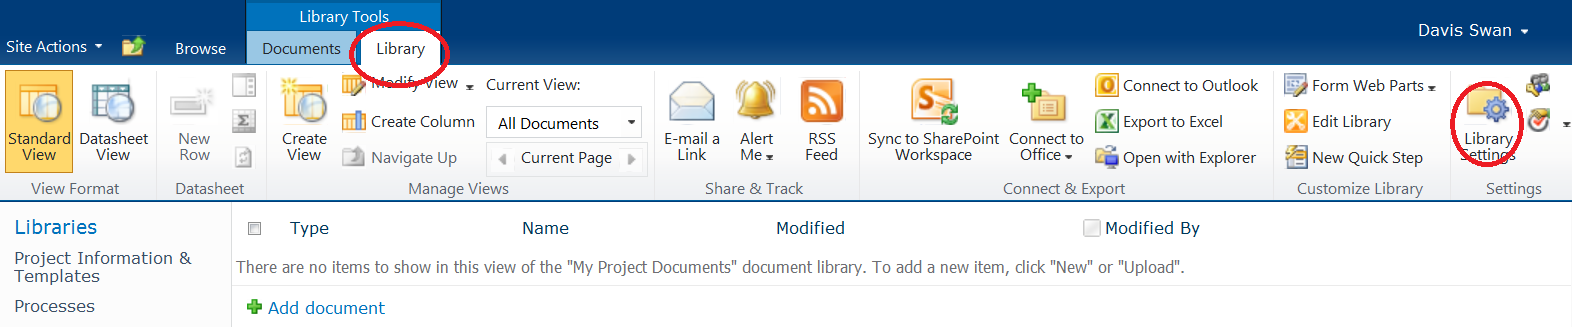
 - Customize the library by choosing the Library Tab in the Library Tools and clicking on Library Settings as shown below.
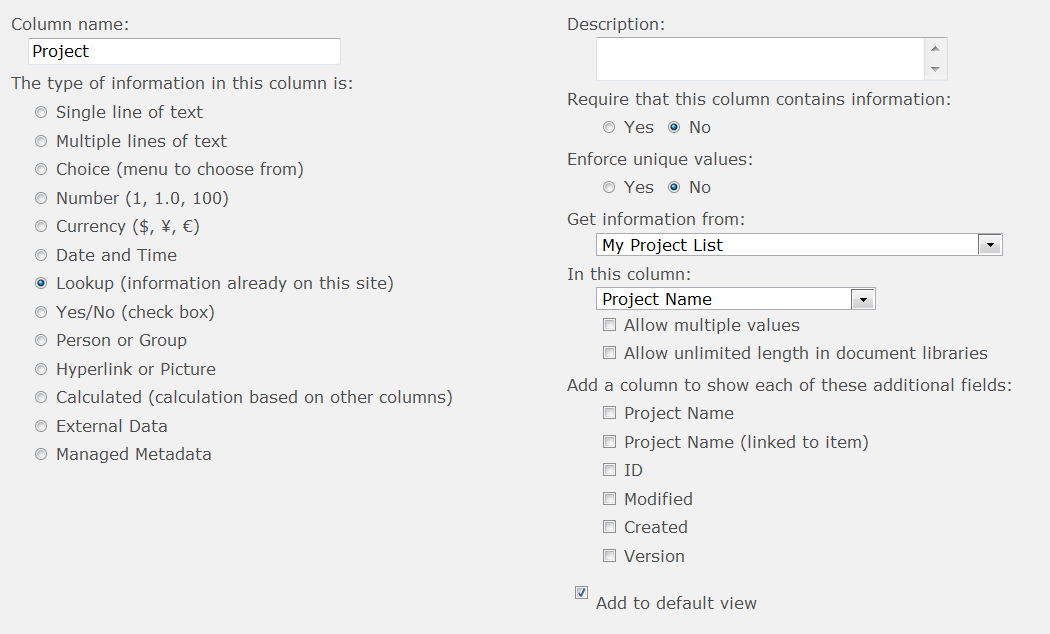
In the Columns section choose Add Column and configure a new column named "Project" as shown below;
You can now upload documents for all projects into this library. You will be asked to pick a project when the file is uploaded. As a result it will be important to keep the project list up to date.
The next step it to set up a Page for your project.
Introduction Step 1 Step 3 Step 4 Step 5